Last updated: 2025-01-14
Estimated reading time: 7 minutes
Before You Start
✅ This feature is available on the Gold plan($29/month) and above.
✅ If you haven't installed Ako Marketing yet, click here to install it and start your 14-day free trial.
In this article, you'll learn how to
- Adjust loyalty points—add, subtract, or overwrite existing balances.
- Update membership tiers, such as upgrading to VIP Silver or Gold.
- Edit customer profiles, including details like birthdays and gender.
1. Bulk Adjust Loyalty Points
▍When to Use
- Running promotions that require adding or deducting points for multiple customers.
- Migrating to Shopify from another platform and importing customer point balances.
- Switching to Ako Marketing from another loyalty system and transferring points.
▍How to Use
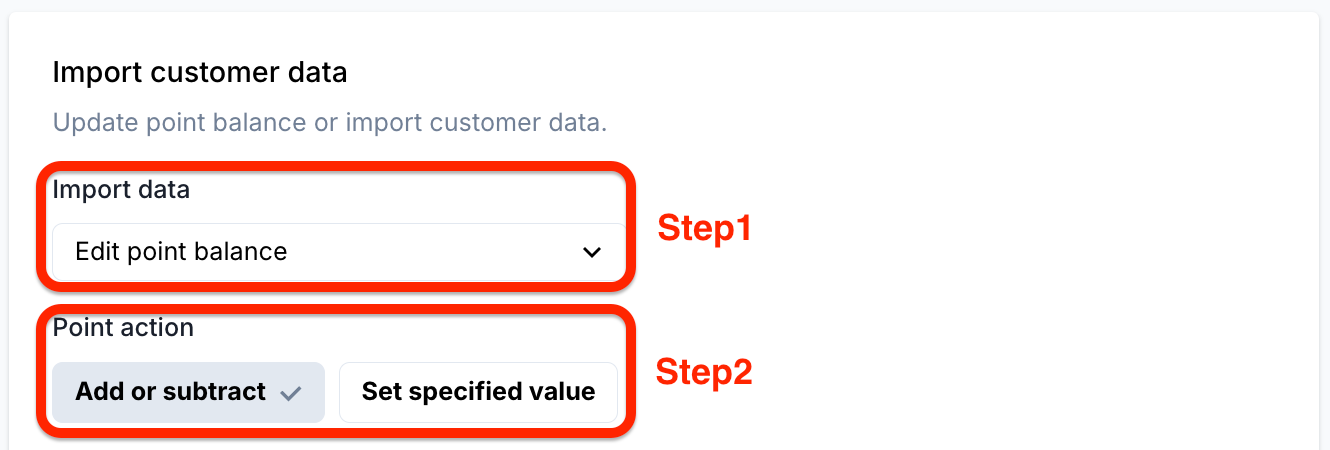
Step1: Go to Ako Marketing > Settings > Customer Import, and select "Edit point balance" under Import data.
Step2: In the Point action field, choose one of the following:
-
Add or subtract: Add or deduct points from the current balance.
Example: Customers who attended an in-store event can receive an extra 300 points. -
Set specified value: Overwrite the current balance with a new value.
Example: Set all customers’ point balances to 300, regardless of their previous totals.
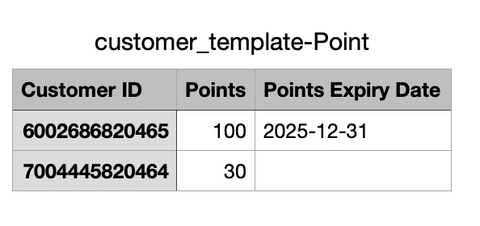
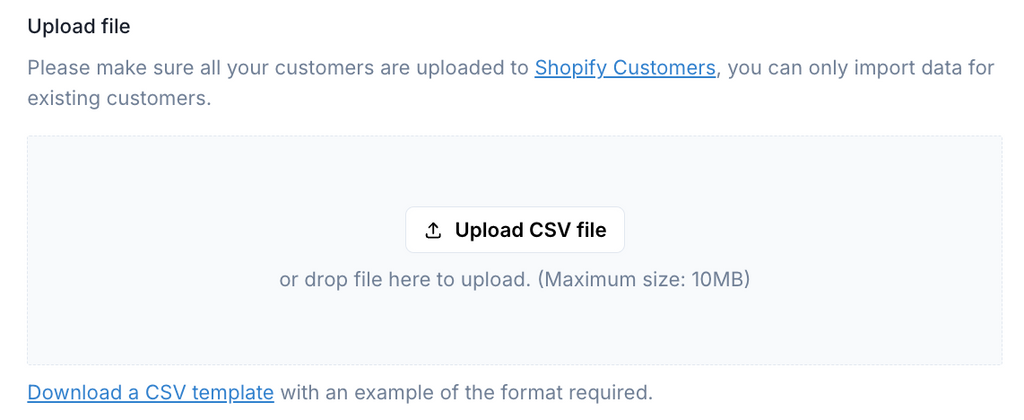
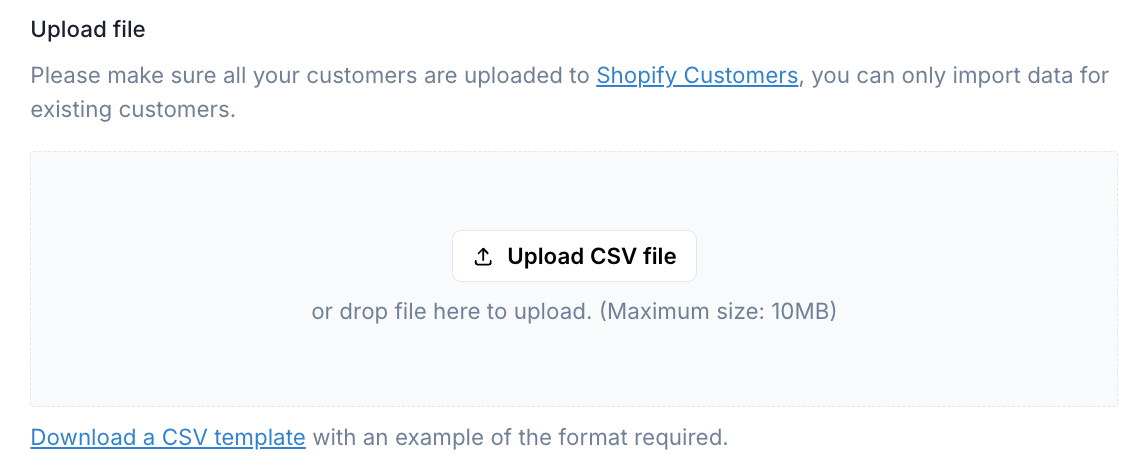
Step3: In the Upload file section, click "Download a CSV template" to download and edit the template. Once updated, click "Upload CSV file" to upload it.

📝CSV Fields Explanation
- Customer ID: The unique Shopify ID for each customer.
-
Points: Specify the number of points to add or subtract (use negative numbers, e.g.,
-100means deducting 100 points). -
Points Expiry Date: Expiration date for the points in yyyy-mm-dd format. Leave blank if the points never expire or if deducting points.
Step4 (optional): Add a reason for the adjustment
-
Public note: A note visible to customers in their points activity record.
-
Internal note: A note for internal use only, not visible to customers.

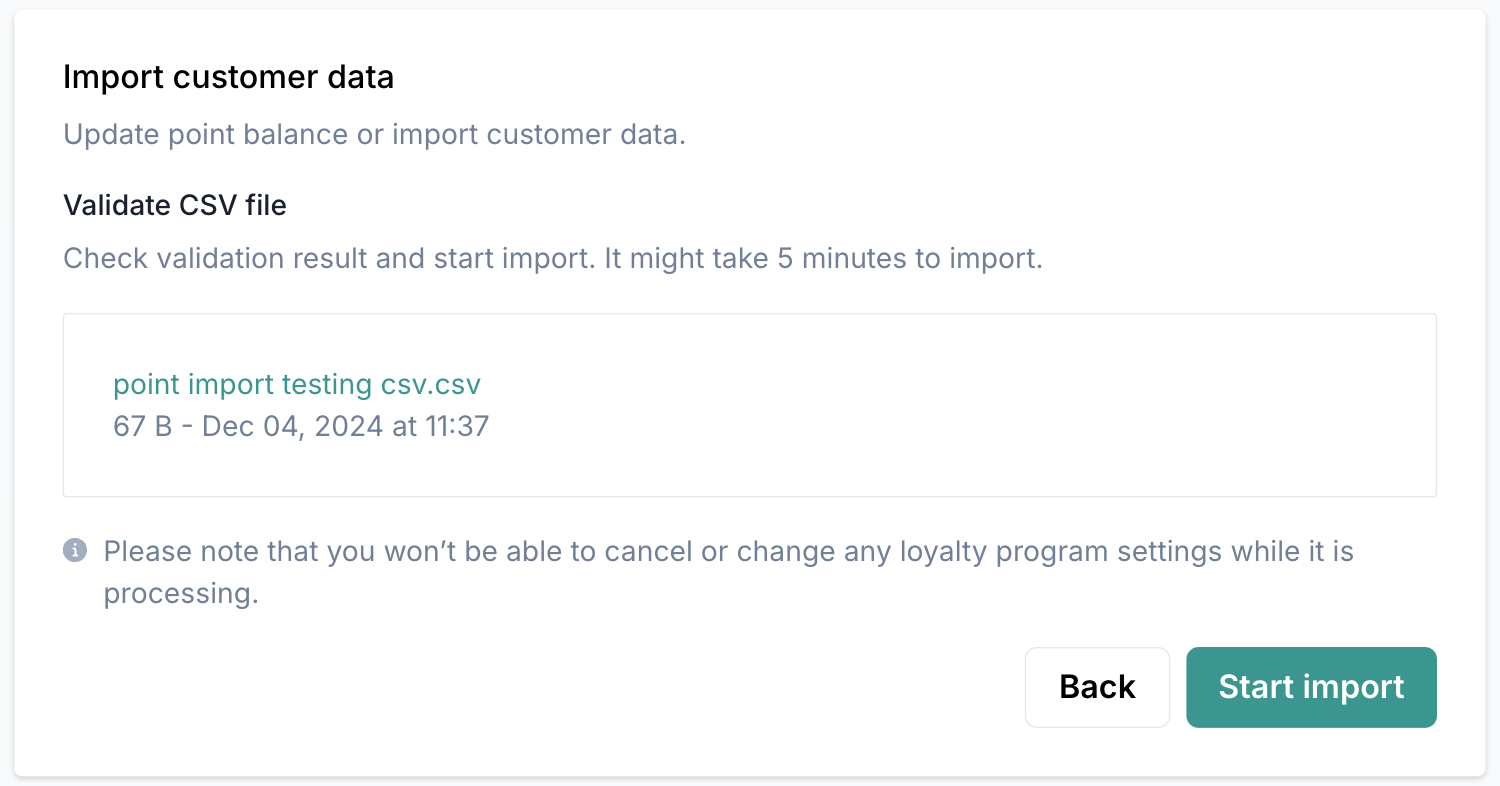
Step5: Click "Next" to validate the file. If there are errors, the system will display a message. Once validated, click "Smart import" to start the process.
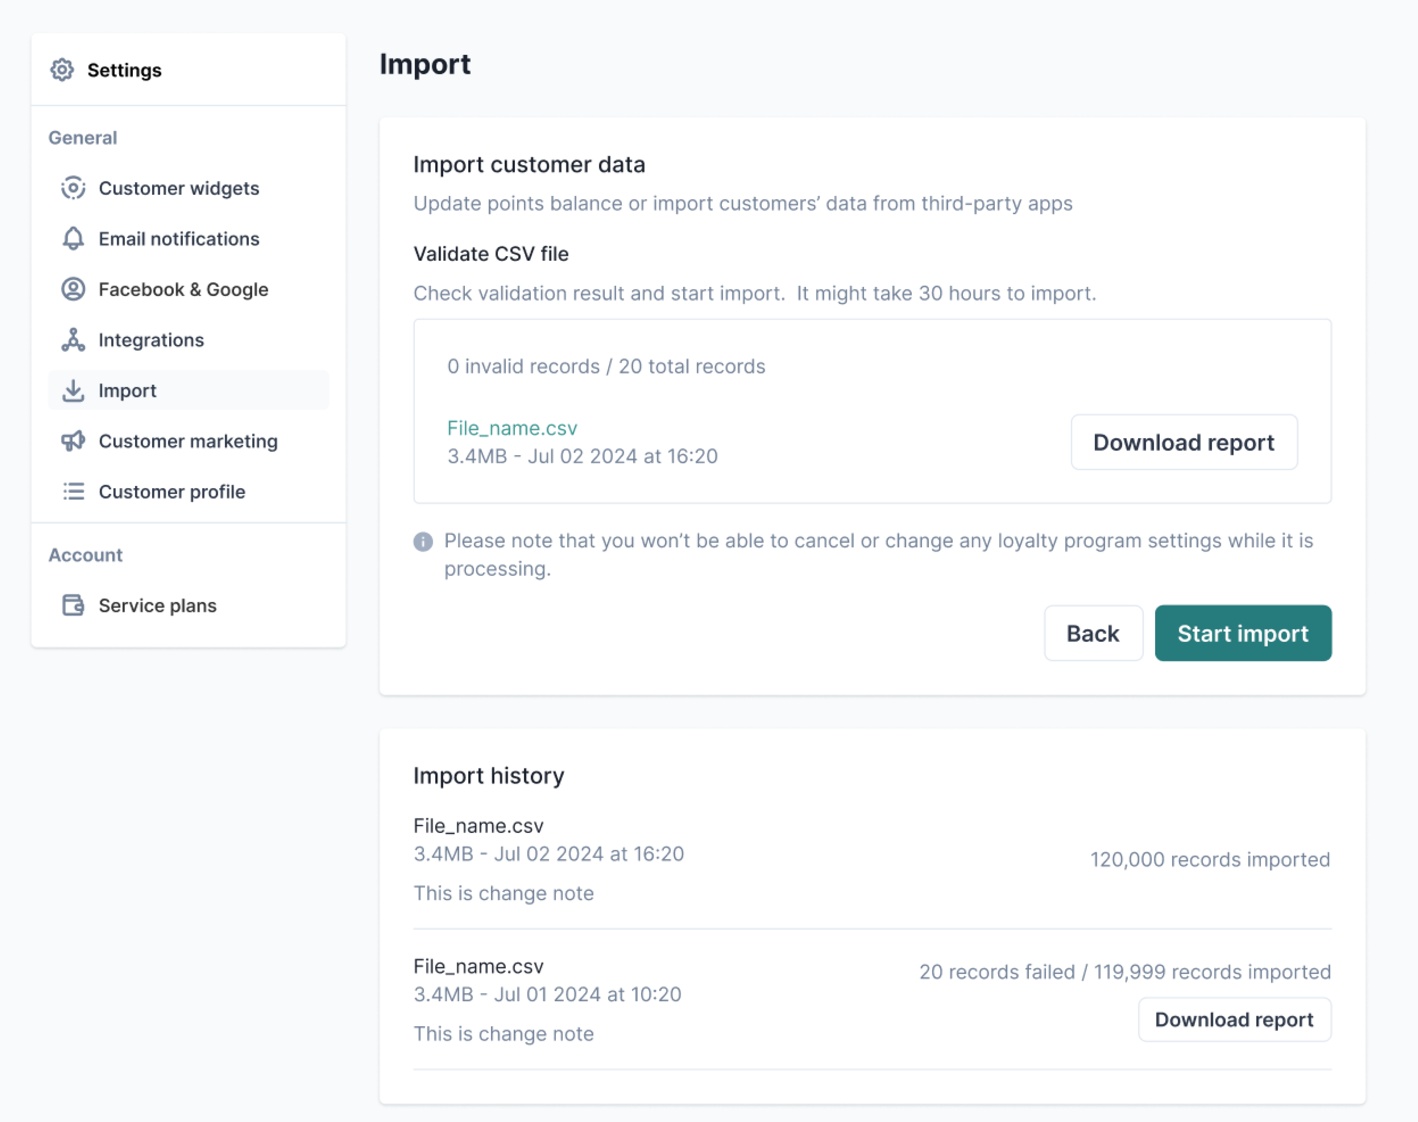
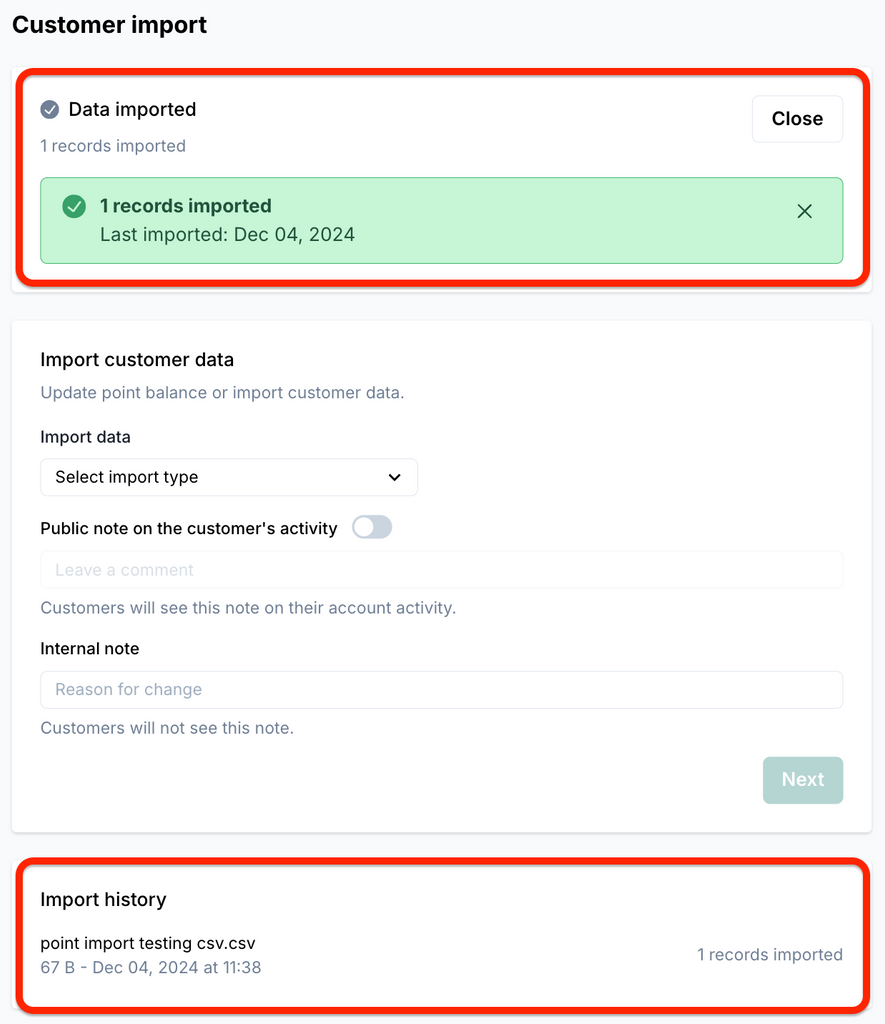
Step6: After the import is complete, you can view the records in Import history.
🔔 Note: This process adjusts point balances but does not send notifications. For marketing purposes, consider sending an email using Shopify Email or other email tools.
2. Bulk Update VIP Tiers
▍When to Use
- Upgrading customers who meet specific criteria.
- Migrating from another platform and syncing customer tiers.
- Assigning VIP tiers to existing customers.
▍How to Use
Step1: Go to Ako Marketing > Settings > Customer Import, and select "Manage VIP tiers" under Import data.
Step2 (optional): Check the box for "Customer will be issued the rewards once the tier is achieved" if you want the system to automatically issue upgrade rewards during the tier update.

Step3: In the Upload file section, click "Download a CSV template" to download and edit the template. Once updated, click "Upload CSV file" to upload it.
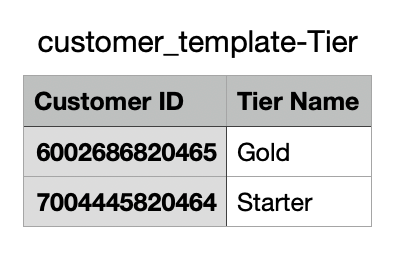
📝CSV Fields Explanation
- Customer ID: The unique Shopify ID for each customer.
-
Tier Name: The name of the VIP tier. You can find tier names in Loyalty Program > VIP > VIP Tier.
Step 4(optional): Add a reason for the tier update
-
Public note: A note visible to customers in their tier activity record.
-
Internal note: A note for internal use only.

Step5: Click "Next" to validate the file. If there are errors, the system will display a message. Once validated, click "Smart import" to start the process.
Step6: After the import is complete, Ako Marketing will automatically notify customers of their new tier.
3. Edit Customer Profiles
▍When to Use
- Migrating from another platform and importing customer birthdays and gender.
- Switching to Ako Marketing and transferring profile information.
▍How to Use
Step1: Go to Ako Marketing > Settings > Customer Import, and select "Edit customer profile" under Import data.
Step2: In the Upload file section, click "Download a CSV template" to download and edit the template. Once updated, click "Upload CSV file" to upload it.
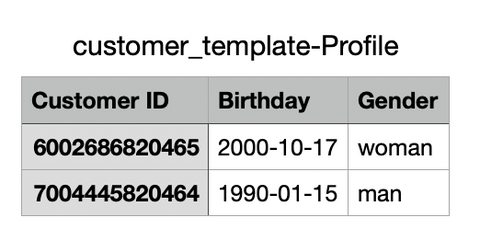
📝CSV Fields Explanation
- Customer ID: The unique Shopify ID for each customer.
- Birthday: Customer’s birthdate in yyyy-mm-dd format.
-
Gender: Use man, woman, transgender, or preferNoResponse.
Step3 (optional): Add a reason for the profile update:
- Public note: A note visible to customers in their profile activity record.
- Internal note: A note for internal use only.
Step4: Click "Next" to validate the file. If there are errors, the system will display a message. Once validated, click "Smart import" to update the profiles.

Step5: Ako Marketing will send birthday rewards and notifications based on the imported dates.
❓Common Questions
Q1: What is a Customer ID?
A Customer ID is a unique identifier automatically generated by Shopify when a customer subscribes to newsletters, checks out as a guest, or creates an account.
Q2: How can I find Customer IDs?
-
Manual Copy: Go to Shopify Admin > Customers, open a customer profile, and copy the number in the URL after customers/
-
Export List: Export your customer list from Shopify Admin > Customers. You can also filter customer groups and export them. Learn more in Shopify's guide.

Q3: Can I import points and tiers at the same time?
Currently, Ako Marketing processes only one type of data per import. Please upload points and tiers separately.
👋Got questions? We’re here to help:
📧 service@akohub.com
📅 Schedule a 20-minute free consultation online